
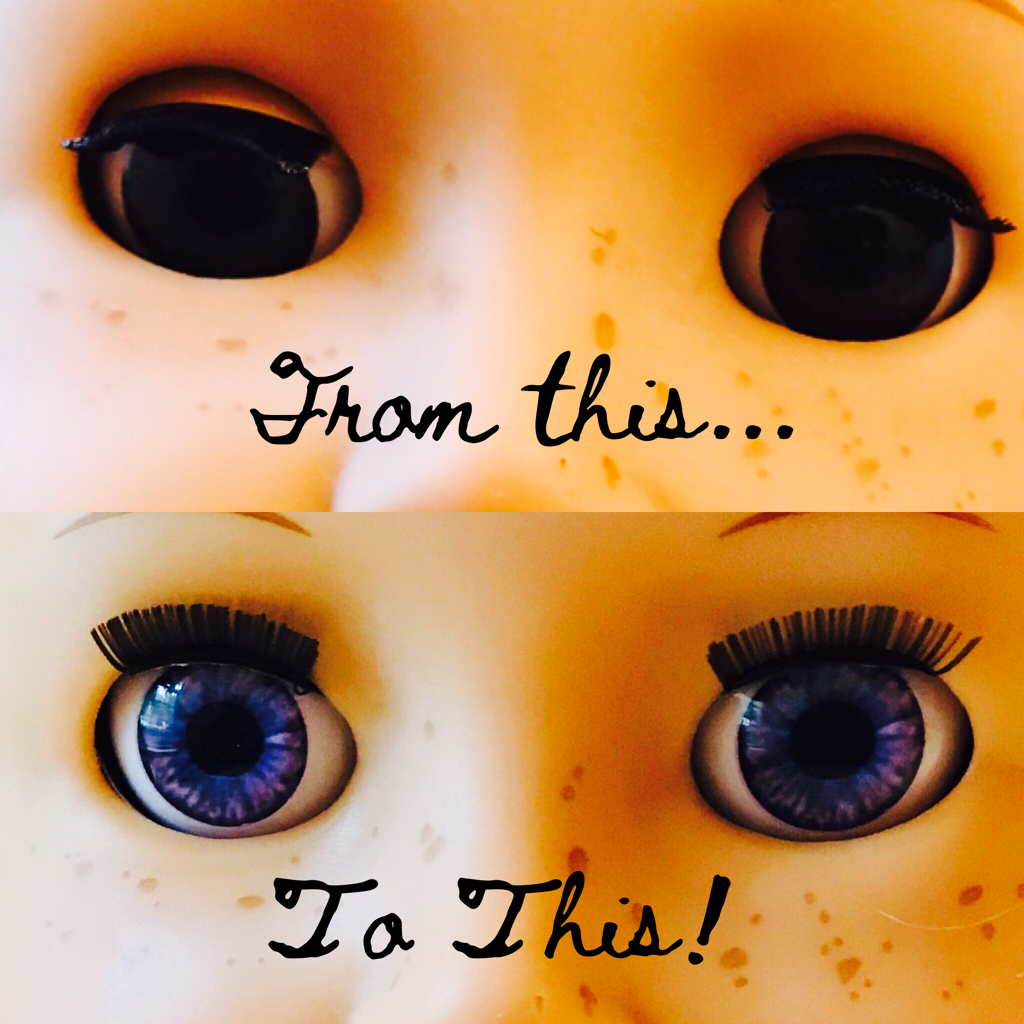
 I am beyond thrilled to announce the arrival of my custom-designed Atelier Mandaline Truly Fitting™️ doll eyes! I've been working since February to bring these eyes to you and I am not disappointed. I worked with a manufacturer to design eyes especially for dolls with shallow, wide, almond-shaped eye pockets such as American Girl and similar dolls and I am happy to announce these are a perfect fit. Now you can change out your doll's eyes for a different color or replace eyes that are stuck, damaged, or cloudy. I have four eye colors right now and plan to order more as I can afford it. You can buy them from my Etsy and eBay shops at the moment and I plan to add them to this site soon. You can link to all my shops from the Home page. Read on to find out exactly how to replace your doll's eyes. This method will work for any vinyl doll and it's perfect for dolls with a narrow neck opening. For another eye swapping method see my tutorial for dolls with wider neck openings. 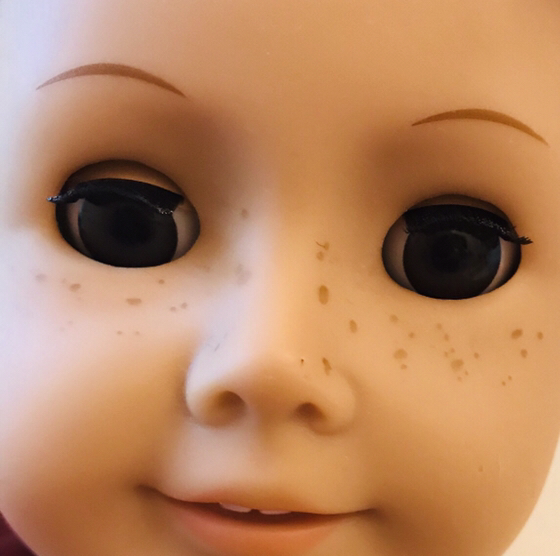 The doll I am working on today is Tenney by American Girl. As you can see, Tenney has one sticky eye that no longer wants to open all the way as well as a little chunk bitten from her nose. I will replace the eyes in this tutorial and tackle the nose later. 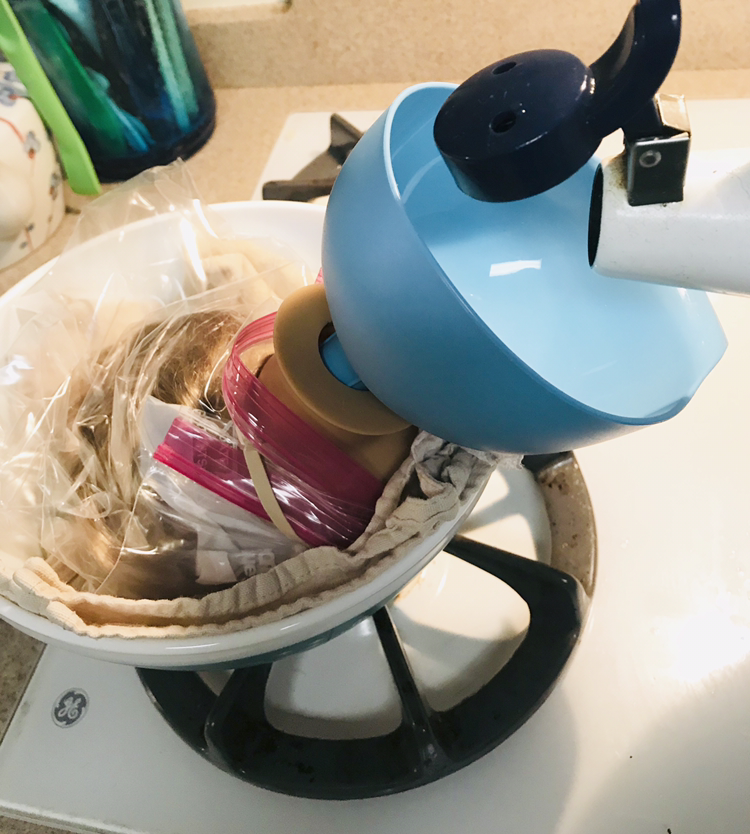 Step 1: Soften the head. In the case of American Girl you can untie the drawstring in the neck or cut the zip tie to remove the head and soften it. You need to heat up the vinyl to make it pliable. Cover the doll's hair and face paint if desired with a plastic bag to protect it in case it gets wet. Line a bowl with a towel and set the head in the bowl with the eyes facing downward. Boil water and pour the boiling water into the doll's neck opening. Use a flashlight to see inside the head and make sure you cover the little lumps inside the head with water. Those are the eye pockets and they need to be soft to remove the eyes. I used to boil the whole head to soften it, as I saw on You Tube, but Camille of Camille's Doll Spa in Chicago posted this genius method on Instagram and that's the only way I do it now. It is much easier on the hair and paint. Please note, if your doll has pierced ears or rooted hair you will need to line the inside of the head with an oven bag, like the kind you roast Thanksgiving turkeys in, before you pour in the water or the water will just all run out. I may or may not have learned that the hard way! 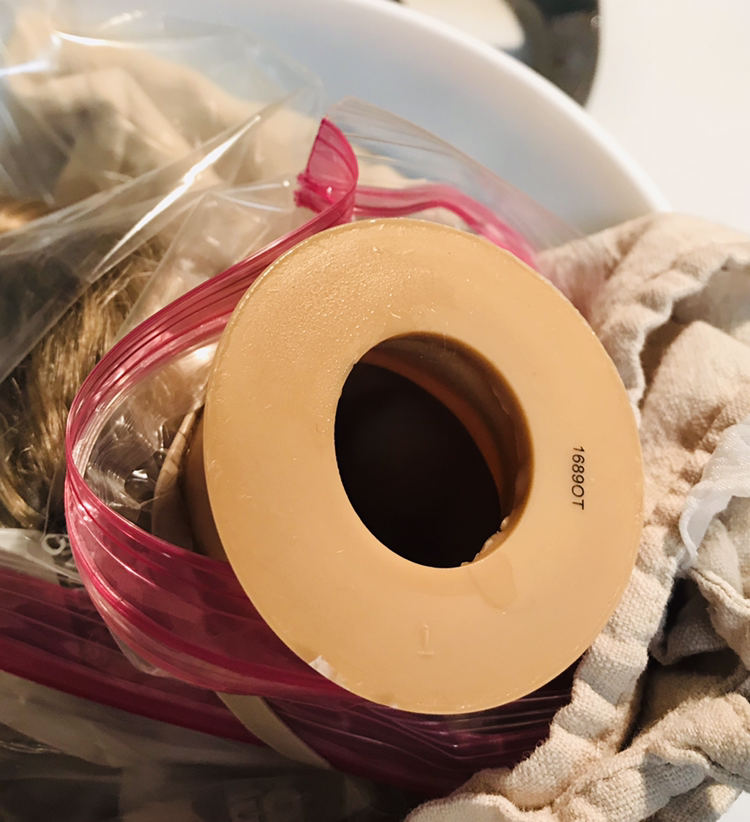 Let the water sit inside the head for 8-10 minutes or until the face is very pliable when you squeeze it. You can lift the head out of the bowl to test how squishy the vinyl has become. When you can easily change the shape of the face by squeezing it you are ready to remove the eyes. 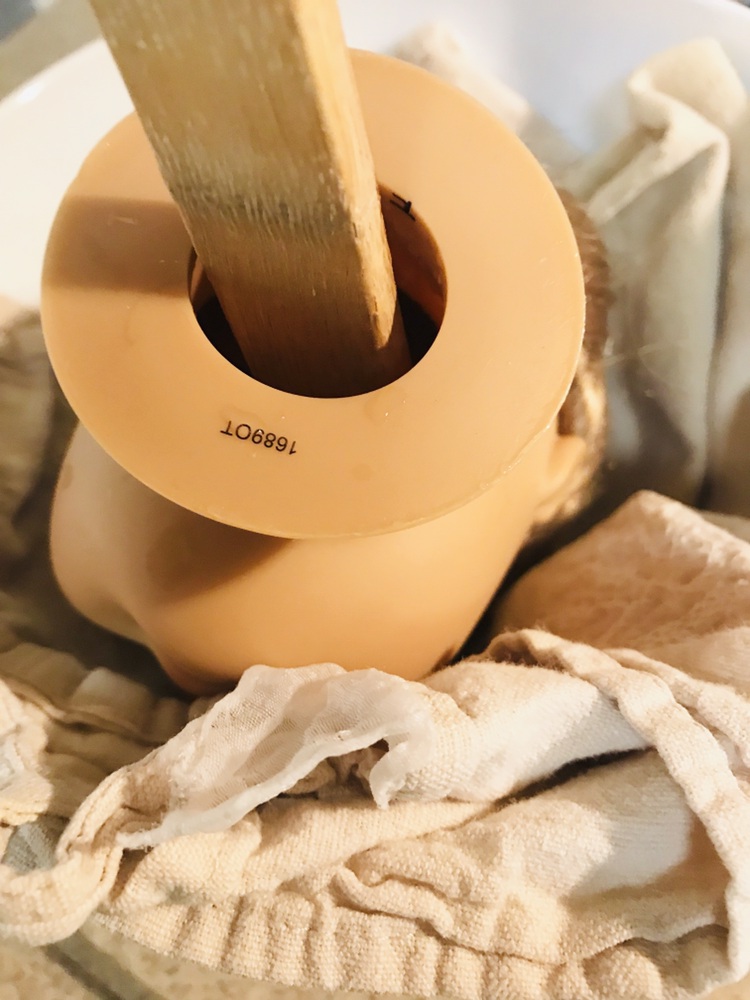 Step 2: Remove the eyes. Using a long implement like the handle of a wooden spoon, press on the backs of the eye pockets inside the head. Push on them to force the eyes out the front of the face. 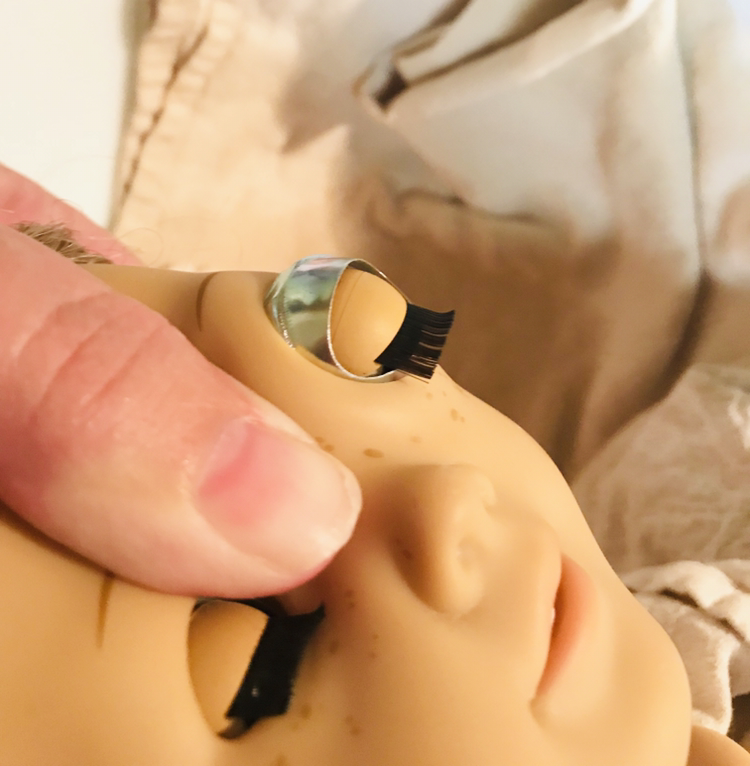 You will probably also have to squeeze the front of the doll's face around the eyes as well until you can pop them out. You may have to warm the head more than once if it takes you a while to get the first eye out. If the face has become too cool to remove the second eye warm it up again before you proceed. 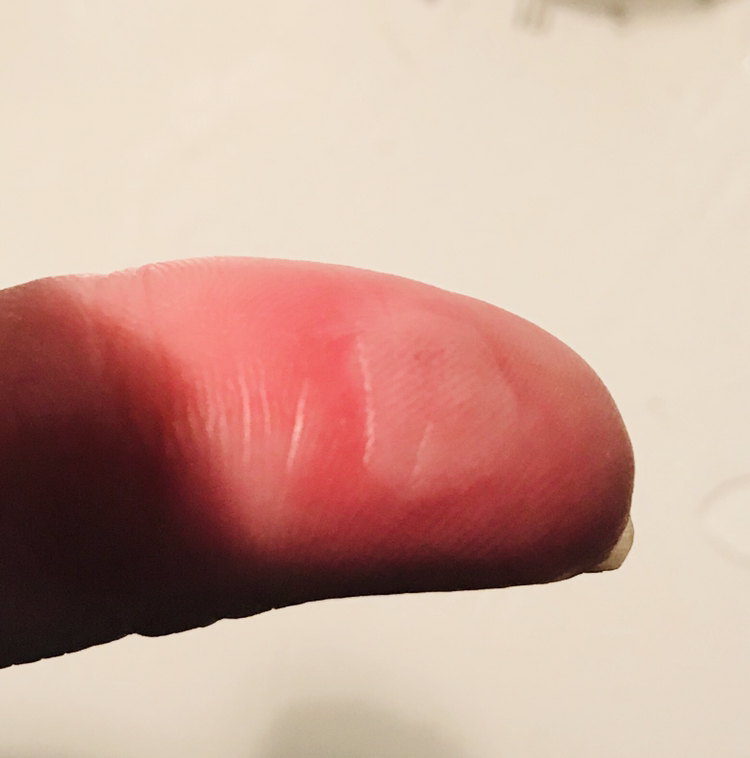 Do your best to keep the eyes straight in the sockets when you are trying to get them out or in. I got one of the eyes turned a little sideways and it became hopelessly stuck. I had to re-warm the head several times and ended up having to dig out the eye with a nut pick and gave myself a big blister! 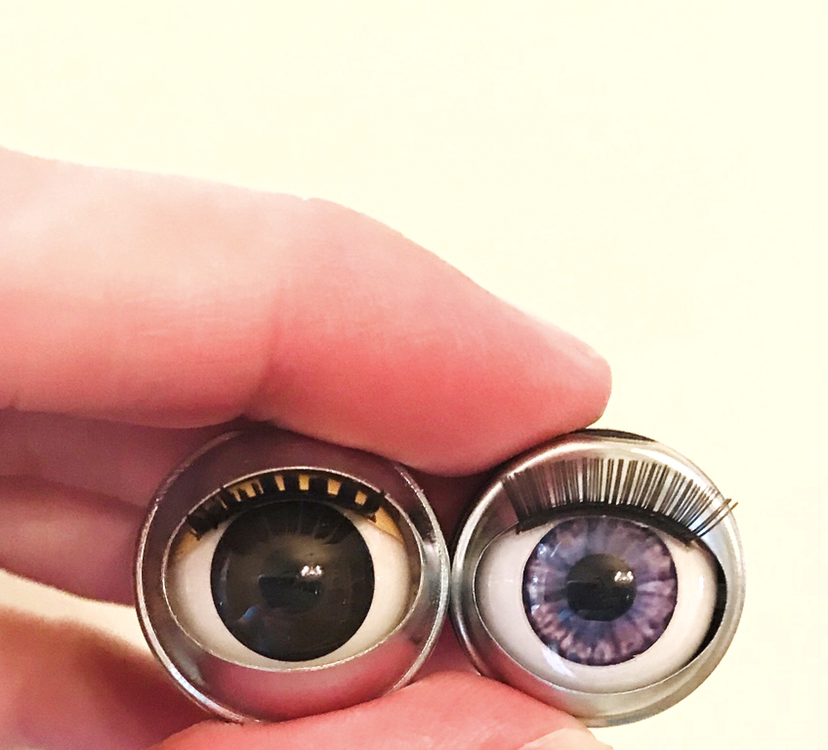 I chose my Variegated Violet eyes as a replacement for the originals. As you can see, these eyes are a near-perfect match for the originals, size wise, and in my opinion are even better because the silver rim around the eye is smaller. These are much easier to situate so the rim doesn't show when the eyes are inserted.  Step 3: Insert the new eyes. Soften the head again by filling it with water as before. While you wait for it to get soft go ahead and carefully rub baby oil on the back and sides of the eye casing. Make sure you don't get the oil into the eye casings. The baby oil makes it much easier to insert the eyes. If you feel like it's too runny you could also use petroleum jelly. You can apply the oil to the eyes or inside the eye sockets or both. I use a cotton swab to apply the oil. 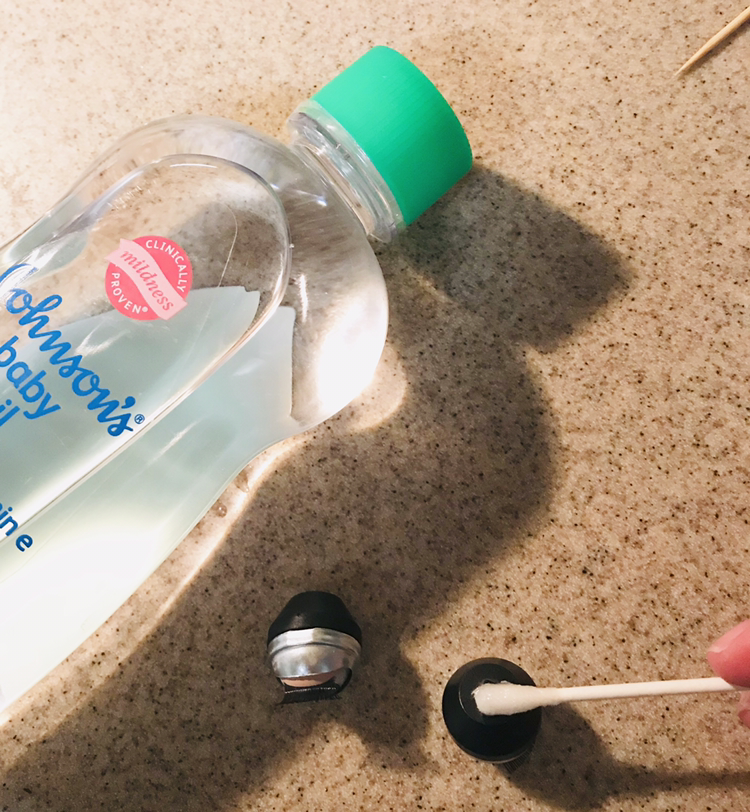 When the face is pliable and the eyes or sockets are oiled place one new eye directly over the eye socket. Make sure the eye is as straight as possible because if it gets turned sideways it will get stuck and could be damaged. These eyes are almost exactly the same size as the eye pocket. Press the eye into the eye pocket. You can squeeze the face around the eye with your other hand while you press the eye in to make it easier. The eye should pop right into the socket. Repeat with the other eye. If you work fast you can get them both inserted without softening the head in between. 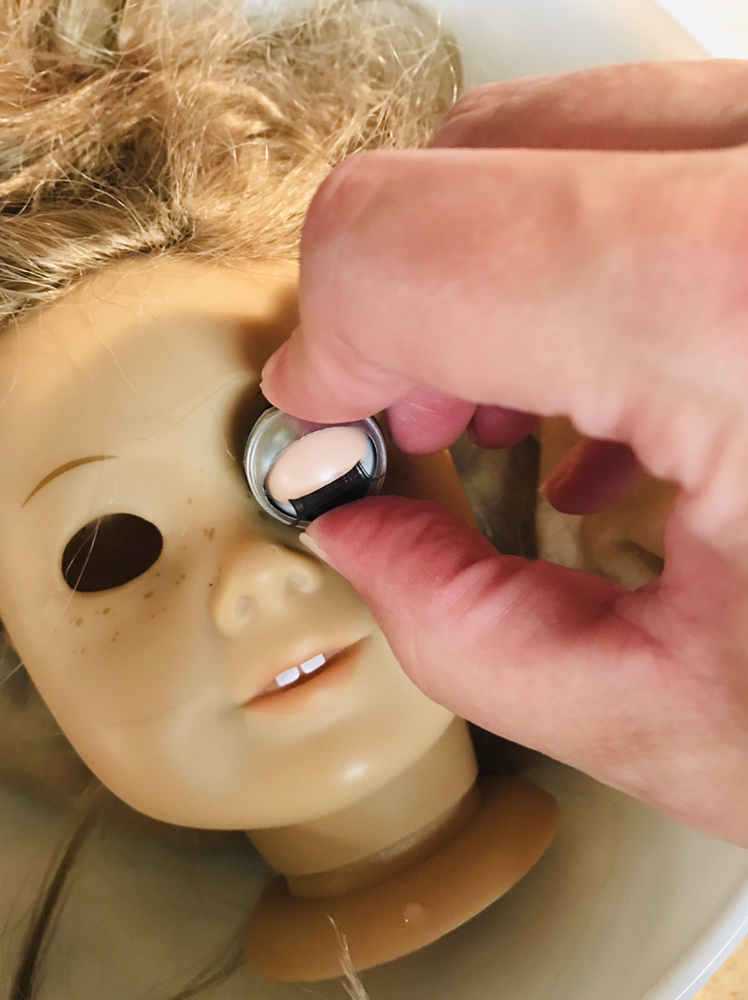 Step 4: Straighten the eyes. When you insert the eyes they are often a little wonky, gazing in slightly different directions or with the silver rim visible. Very gently press on the frames of the eyes with a nut pick or bamboo skewer to straighten them up. Make sure they are looking in the same direction and the rim isn't showing. 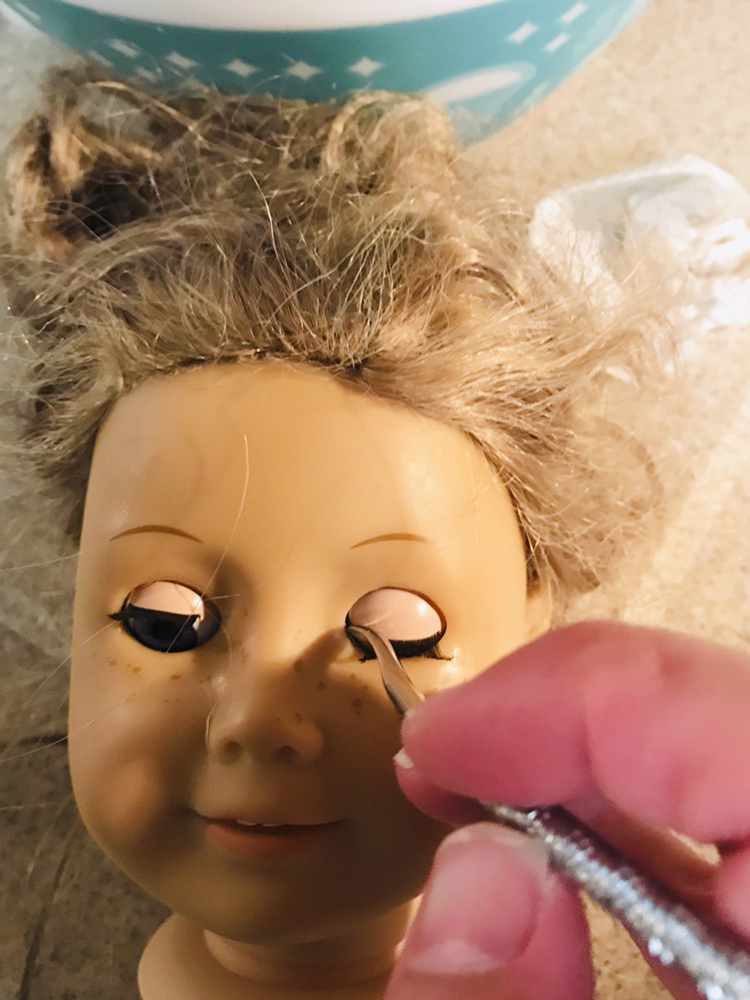 Voila! Look at those gorgeous eyes! I am even more pleased with these than I thought I would be! These new eyes just popped right in for me, far more easily than the last eyes I replaced using actual American Girl eyes. Now you can make your doll look exactly as you want or repair your doll without having to pay the pricey American Girl Hospital fees! 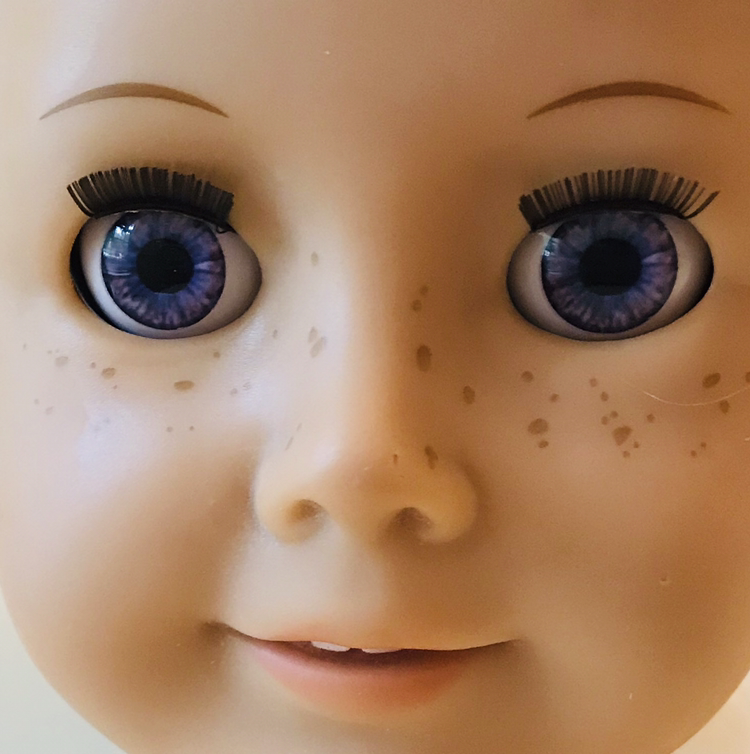 My eyes come in four colors: the classic Blue Pinwheel similar to the originals used in vintage American Girl dolls, jade green with a hint of aqua called Sea Jade, Root Beer Brown, and Variegated Violet, which range from lavender to dark purple. These are my most popular and requested shades but as they sell I hope to offer even more colors. I do offer custom-painted eyes in my Etsy shop. I've created everything from glow-in-the-dark reptile eyes to zombie eyes to just ordinary hazel eyes and I'm happy to work with you to bring your vision to life! As always, please take a look at my shops using the links from the Home page. 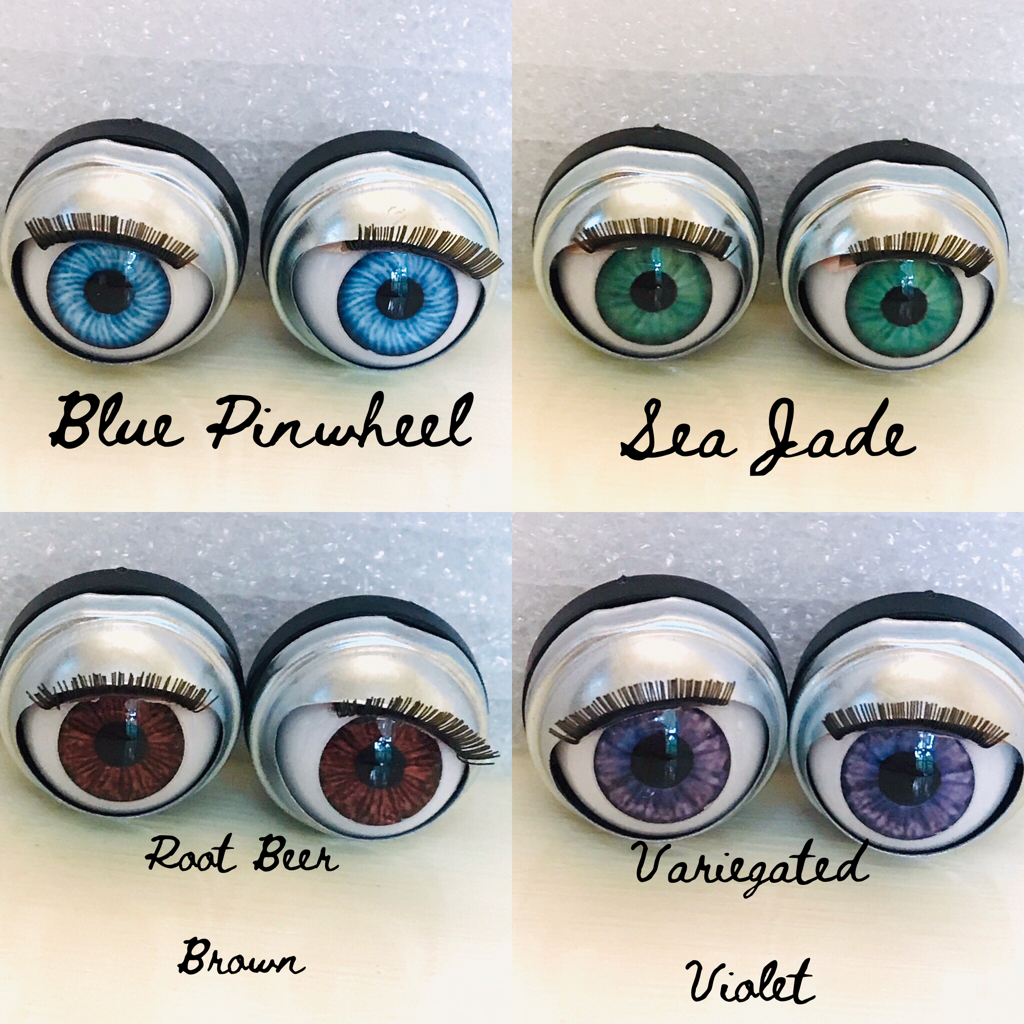
10 Comments
Sandra Lyons
2/1/2019 05:03:38 pm
Fantastic. I have a AG that has one wonky eye and missing some lashes. So a eye swap is in order. You make it look so easy and now I think I'll attempt it.
Amanda
2/1/2019 05:10:43 pm
Oh good! I’m so glad to be helpful! I find it’s definitely easier with my specially-designed eyes. Check out my eye swap kits as well as AG eyes in my eBay and Etsy shops. Take 10% off any order from my Etsy shop with code FAVORITE. Best of luck on your eye swap! Sincerely, Amanda
ERIKA JORQUERA RIVERA
8/8/2020 07:48:59 pm
Hola , soy Erika de Chile , no había visto este tutorial , muy bueno , hacen despacho a chile? cuánto valen los ojitos medida 20 mm, ? gracias,
Amanda
8/8/2020 08:11:49 pm
¡Hola! ¡Gracias! Compro en todo el mundo, pero ahora mismo existen restricciones debido a COVID. Utilice los enlaces de mi página de inicio para comprar en mis tiendas eBay o Etsy y podrá ver el precio y si su país puede aceptar la entrega. ¡Gracias por leer! Atentamente, Amanda 8/27/2020 05:04:03 am
THANK YOU SO MUCH .. WANT TO BUY EYES THAT ARE EASY TO PUT IN .. WHAT IS COST $$$ 10/22/2021 03:36:56 am
DO YOU SELL THE EYES ? WHAT IS COST PLEASE
Kimber
11/26/2021 09:57:15 am
Do these eyes replace the Bitty Baby eyes as well ? I don’t know if they’re the same size ?
Amanda
11/26/2021 10:14:58 am
Hi! No these eyes are too big for Bitty Baby. For Bitty Baby use a 10mm or 13mm eye. Most take a 13 but I’ve had a couple who took a 10mm. You can purchase those from my eBay or Etsy shops (link from the Home page). Thanks for looking! Amanda
Jacki Browning
3/25/2024 04:46:09 pm
Do you sell Bitty Baby brown eyes how much? Thanks Leave a Reply. |
AuthorMy name is Amanda, but my childhood nickname was "Mandaline". I am a mother of three turning my passion for creating into a full-time business. Archives
April 2024
Categories |
 RSS Feed