
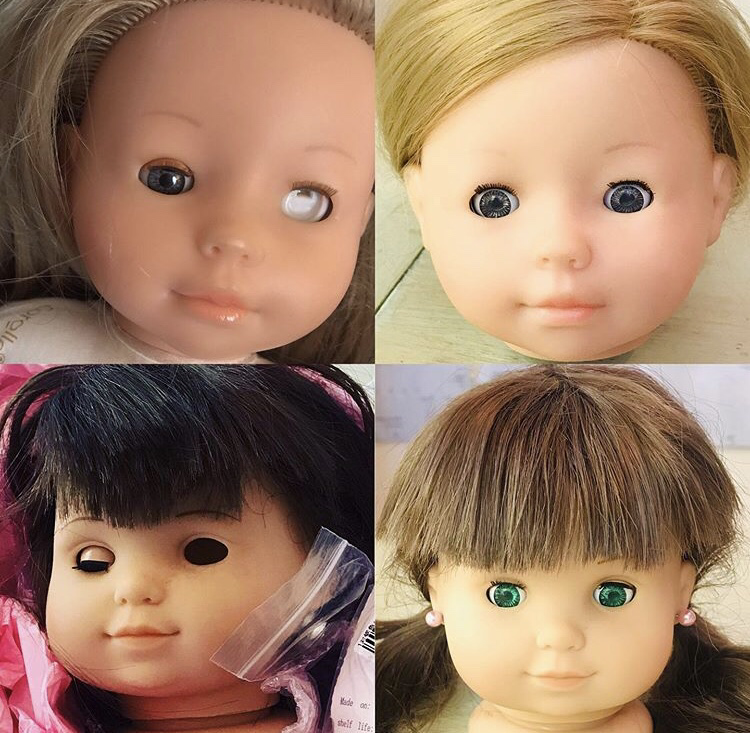
 Last week I had two new-to-me patients in my doll hospital: the 14 inch Miss Corolle Classic doll and a Bitty Baby Twins doll. Both these little ladies needed eye transplants. The Bitty Baby was partially repaired at home but the owner couldn't get the second eye in and sent the doll to me to finish. She was the second person in as many days to have trouble inserting the second eye into a Bitty Baby. I am not sure what the problem was because the eye popped right in for me. If you are having trouble with your Bitty Baby I suggest you review the tutorial. Bitty Baby takes a Margon size 13mm eye, available in my Etsy and eBay shops (link from the Home page). I find rubbing a bit of baby oil or petroleum jelly on the back of the eye helps with insertion. Miss Corolle was a lot more difficult so I was glad the owner sent her in. I didn't think to take photos but I made notes of some particular issues with that doll. 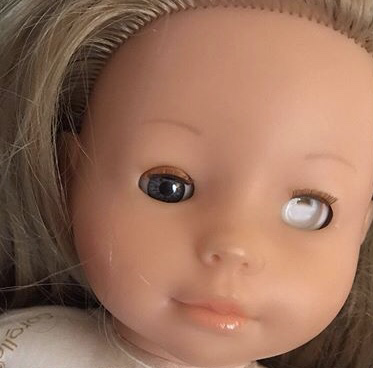 I believe this is the "Miss Corolle" classic doll. There are a few different 14 inch Corolle dolls and this one is the older-looking body and face rather than the baby type doll. Miss Corolle lost her iris. Unfortunately the only solution is to replace both eyes, unless you were to find the same doll from which you could harvest an eye. This doll, like the 18 inch American Girl, does not use a standard eye size. Her eyes are wide but the case is shallow. In the Margon replacement eyes she takes a size 10mm. You may remove the eyes using the method illustrated in the tutorial above, except that since this doll has rooted hair you will need to line the inside of the head with an oven roaster bag before you fill it with water. When the head is warm the eyes pop right out. Her vinyl head fits on a hard plastic neck so there is no reason for a drawstring; you can just pop the vinyl head right off the neck piece. 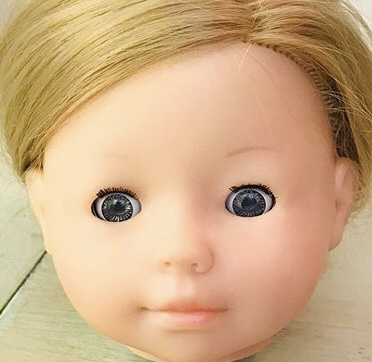 The Margon 10mm eyes are too tall for the eye pockets so you can't use the boil method to insert the new eyes. You will need to use my cut method. You will need to remove the ends of the vinyl eye pockets inside the head. This will result in a vinyl tube with an open end inside the head. The fit will still be tight. I gently heated the eye tubes with a hair dryer. Then I used a curved hemostat to place the eyes on the tube and push them toward the front. Then I straightened the gaze so both eyes looked in the same direction and sealed them to the tubes with Aleene's Tacky Glue. When the glue dried I popped the head back on the neck and sent her home. Although it was a difficult repair I believe the doll turned out beautifully! This doll looks to me like the American Girl Wellie Wishers size clothing would fit her if you find one without clothing. My traditional eye repair kit (not the American Girl kit) will work for this doll, but if you have trouble you can always send your doll to my hospital using the form below. 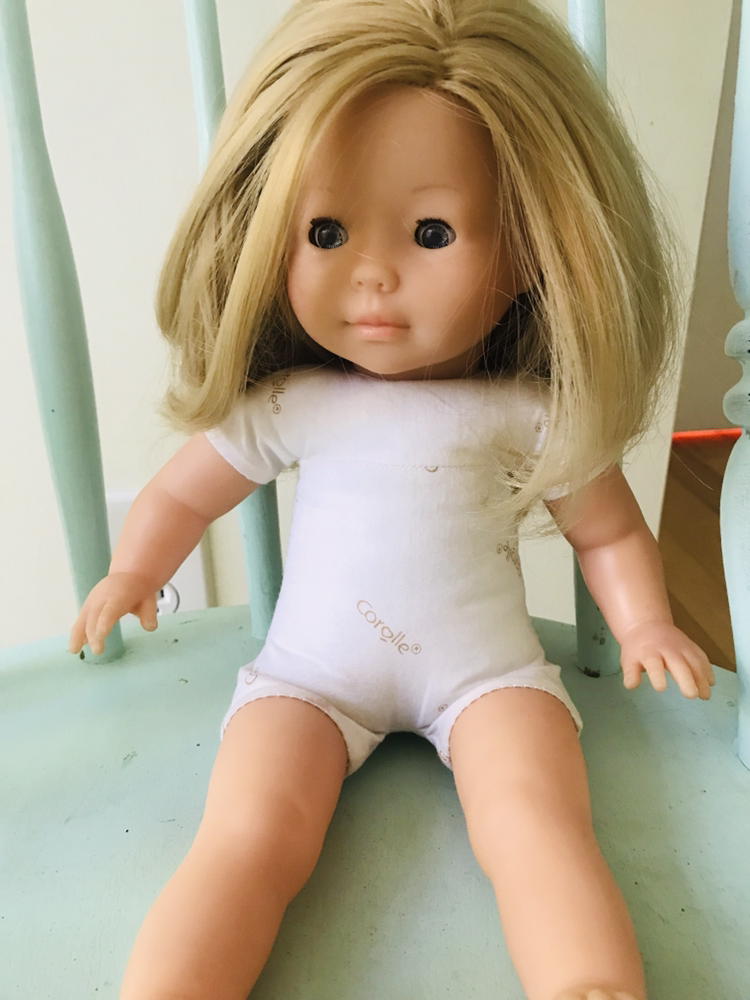
0 Comments
Leave a Reply. |
AuthorMy name is Amanda, but my childhood nickname was "Mandaline". I am a mother of three turning my passion for creating into a full-time business. Archives
April 2024
Categories |
 RSS Feed