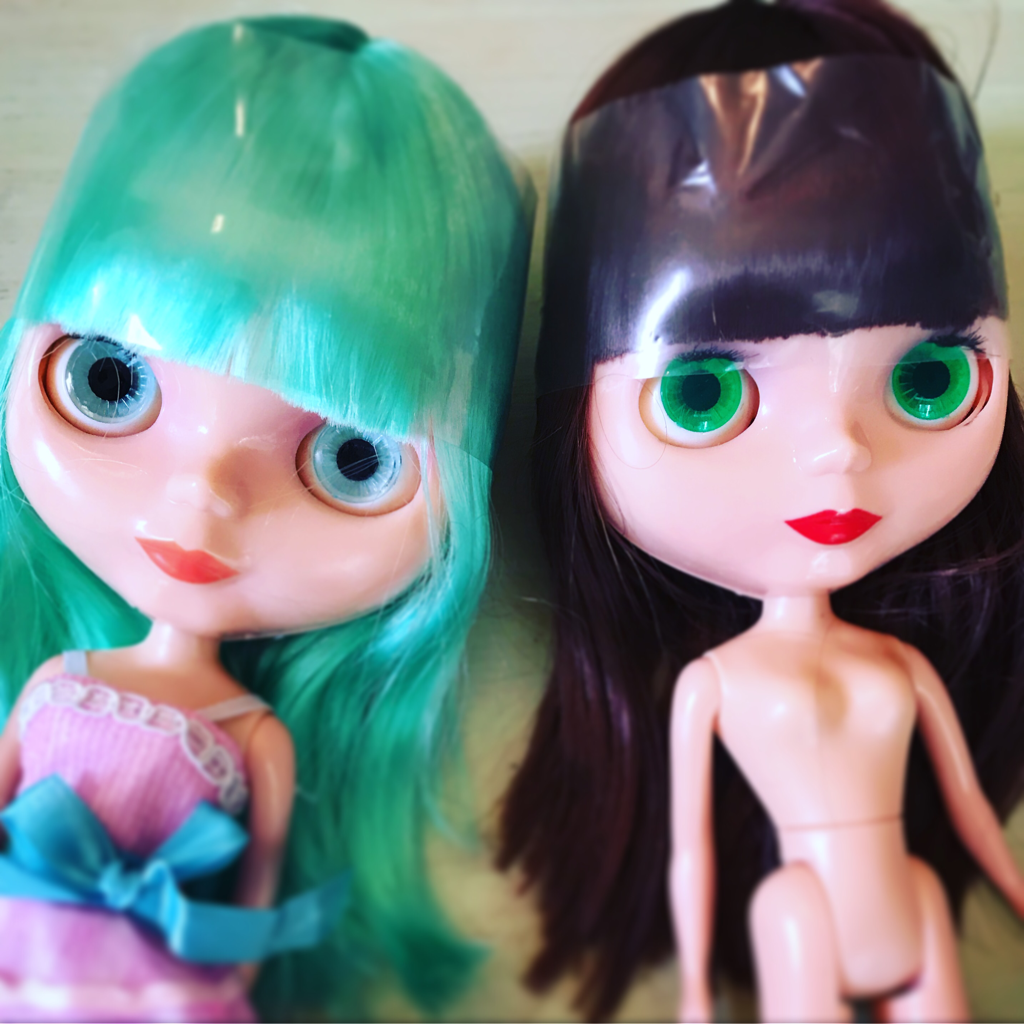
 Hi there, everyone! I hope you're hanging in there during the Pandemic. We had a wake-up call a couple weeks ago when my brother-in-law (who works in sports) had contact with the first NBA player to test positive so he and my niece and nephews were told to self-isolate and the same day we heard our neighbors and friends had been exposed and were symptomatic awaiting testing. We hadn't been near any of these people recently but it really hit home that the reason we weren't hearing about cases in our area was a lack of testing, not a lack of the virus. Since our diabetic son is in the high risk category we locked down earlier than everyone else. It's a weird combination of extreme fear and boredom but thankfully nowadays we have technology to help us cope. We are learning about video-conferencing as our kids' lessons went online this week and this afternoon my son and nephew were face-timing using some filter that gave them giant Ron Swanson mustaches. I decided my readers might like a project to keep their minds off things, so I wrote this tutorial to show you how to make your own custom doll by re-painting an existing doll.  I'm using a Blythe doll such as those shown above as the base. I bought some Basaak and Tomy Blythes to customize but you can also buy just the blank face shell from online to paint. This method will work for pretty much any plastic or vinyl doll. You start by removing any existing paint and, in the case of Blythe, the shiny surface. Because Blythe faces have a shiny surface they won't take paint well. I use a three or four-sided nail buffer to sand off the shine. Then because I was re-sculpting this doll as well as re-painting I used rough sandpaper to sand off the lip paint. As I did so I re-shaped the lips some. Start the sanding process with the roughest surface and repeat using progressively finer sandpaper or nail buffers until you get to the smoothest one. If you don't need to sand the paint off, like if you're doing a Barbie face, you can remove the paint using Goof Off (not Goo Gone) or paint thinner. Make sure to wash the face with soap and water afterwards to remove all the paint thinner. 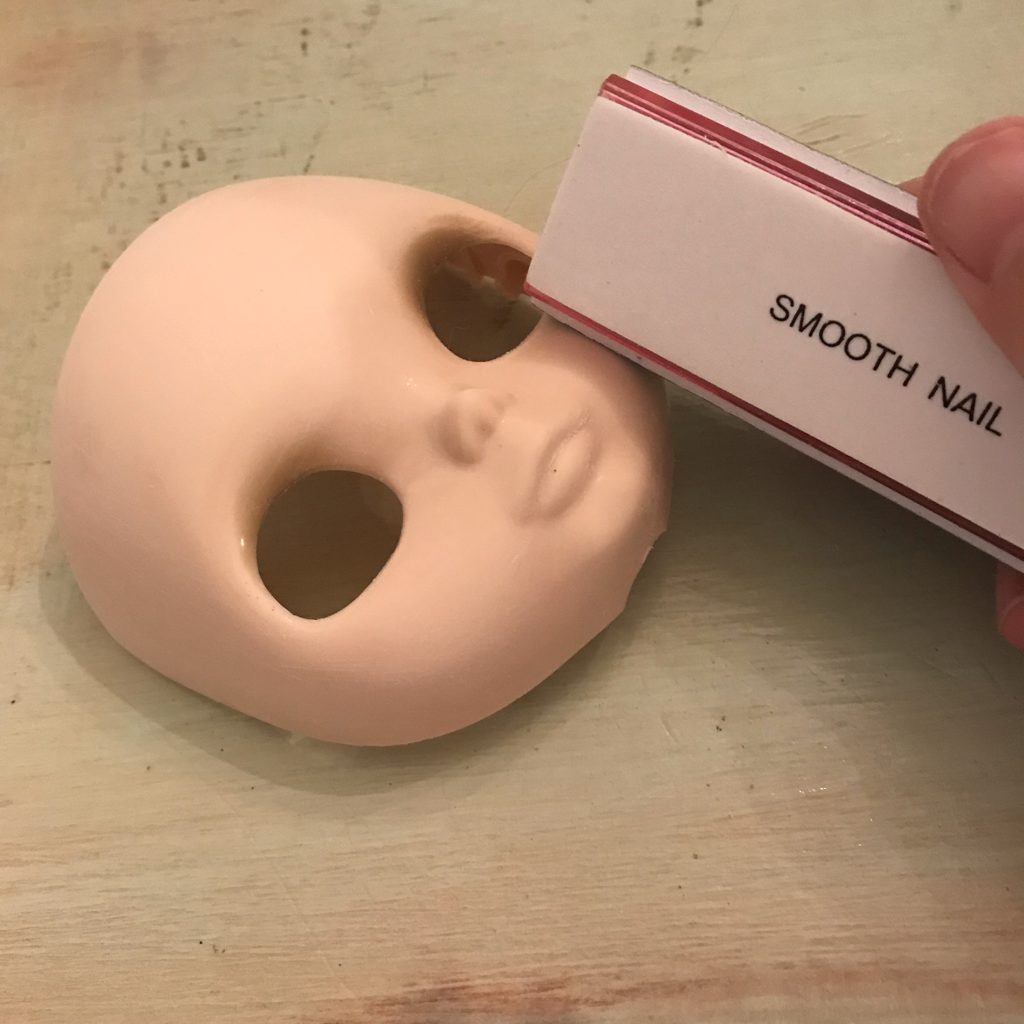 My Blythe still had a tiny bit of shine and dust from sanding which I removed with alcohol. Since alcohol is in such short supply right now you can just use plain water or white vinegar. 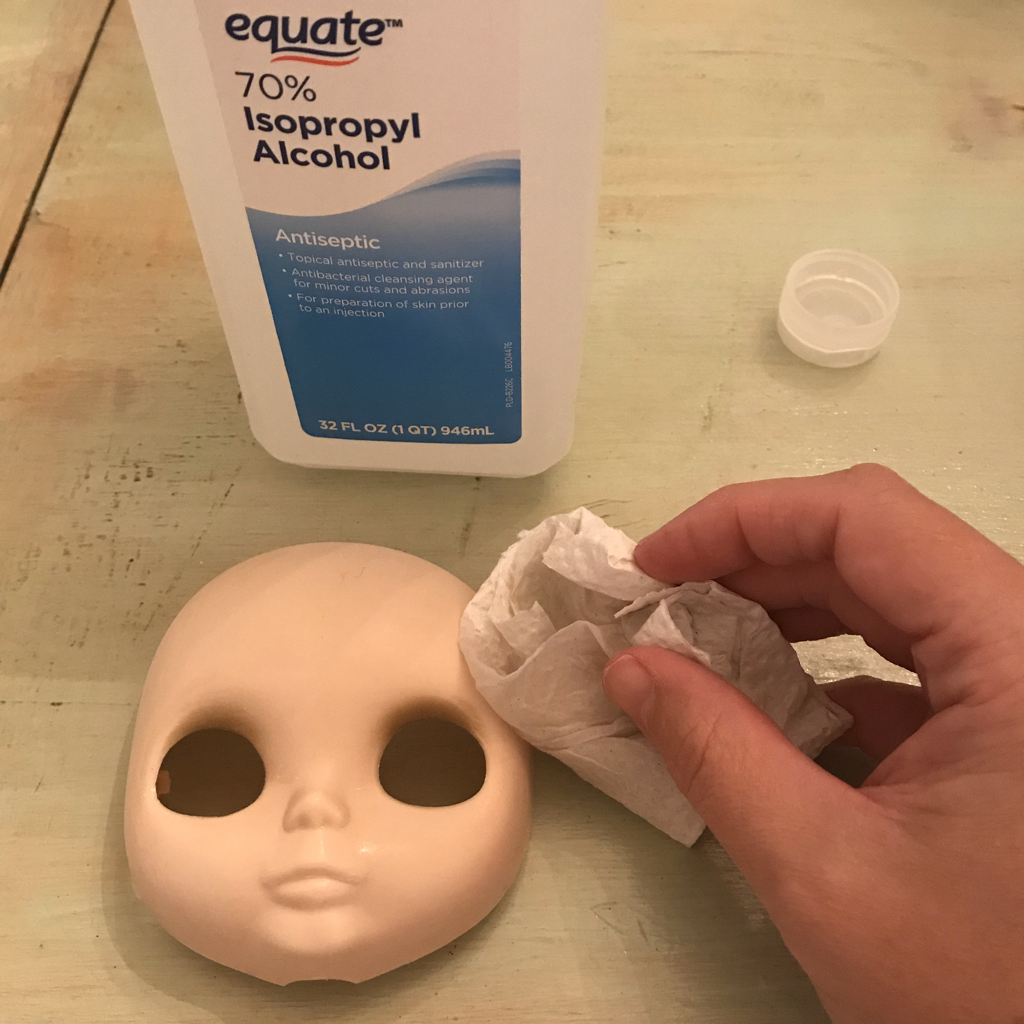 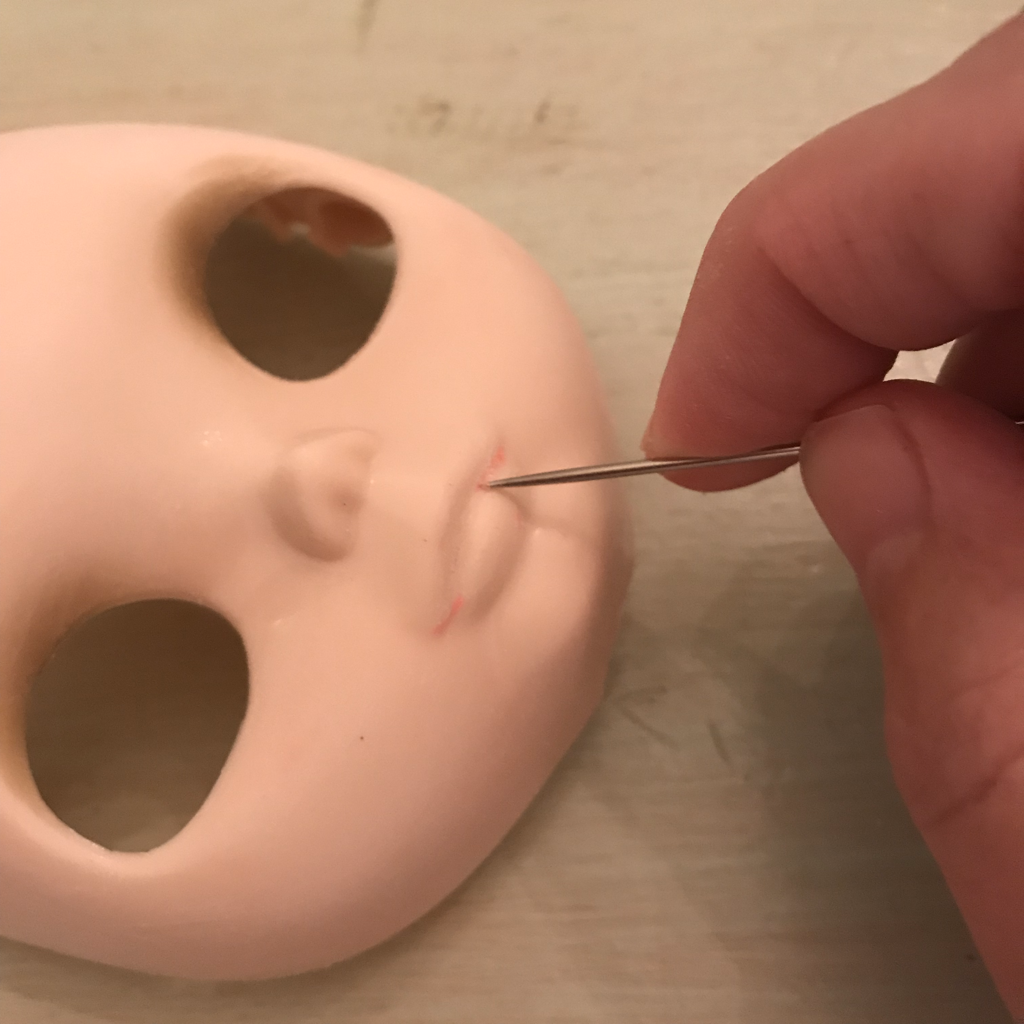 When I was finished removing as much shine and paint as possible I continued sculpting the face some more. Blythe has a hard plastic face but it's still soft enough I was able to mainly use a straight pin with the sandpaper and buffer to reshape the eyes, nose, and mouth. After sculpting I cleaned off the dust again with a damp cloth. I use a combination of pigments on my custom dolls. I started with water-soluble oils and acrylics to countour the face. Then I moved on to pastels. I crush the pastels into powder and then apply them with dry or wet brushes, depending on how sharp an edge I want. You can use human eyeshadow and blush and any powdered makeup this way as well. 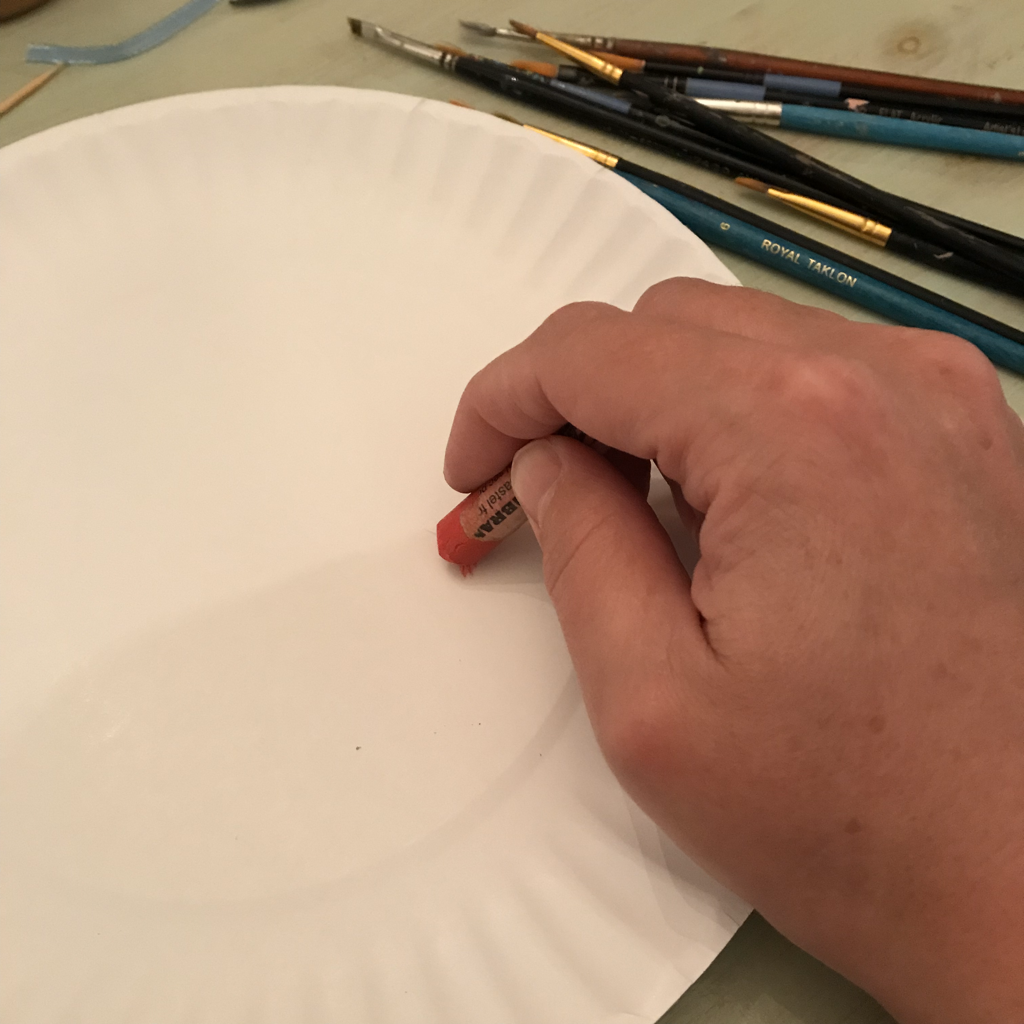 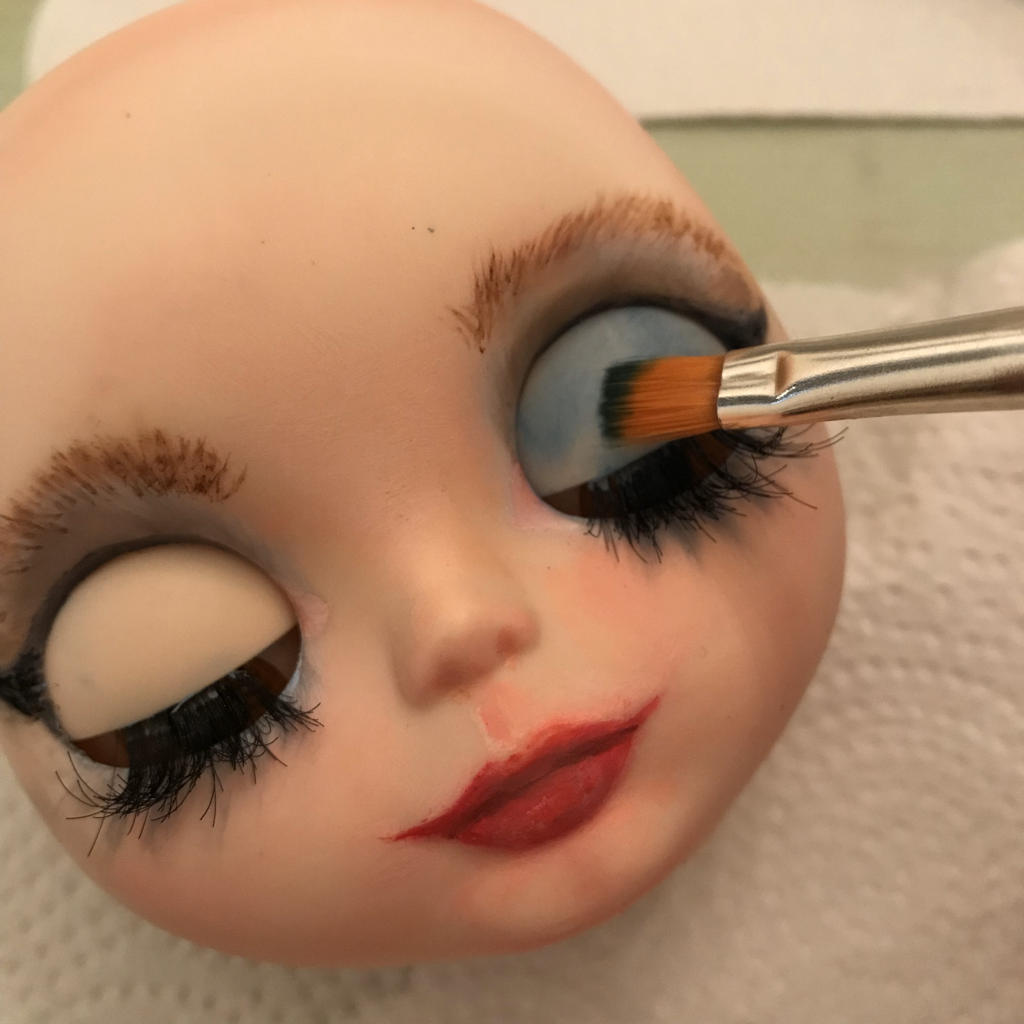 I just layer paint and powdered pigments, building up until I get the look I want. I let the layers dry in between and sometimes I also spray Mr. Super Clear matte spray in between the layers. Using varnish in between the layers allows light to shine through the pigments, making the paint more lifelike. 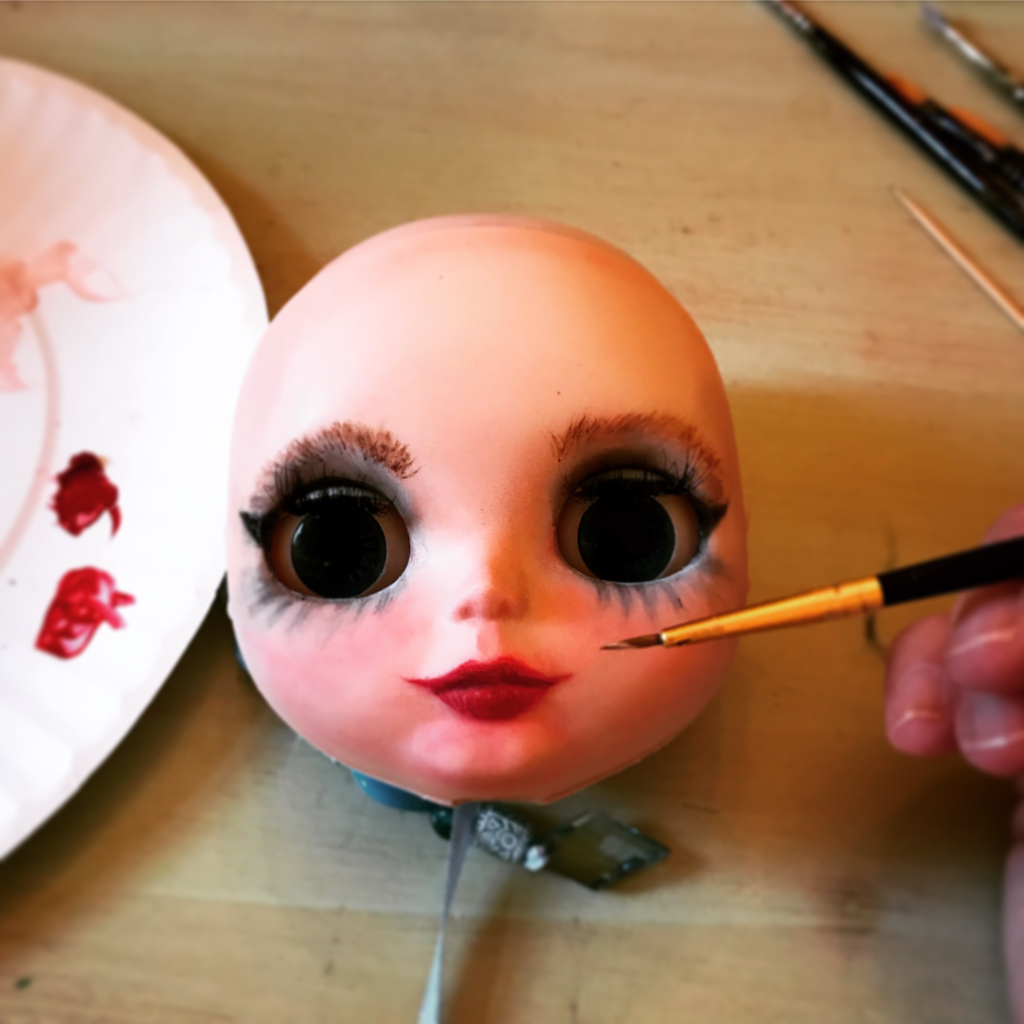 When I was happy with the finished face I applied Mr. Super Clear UV Cut Flat spray to the face. When that dried I applied gloss varnish to the lips because I wanted them to be shiny. 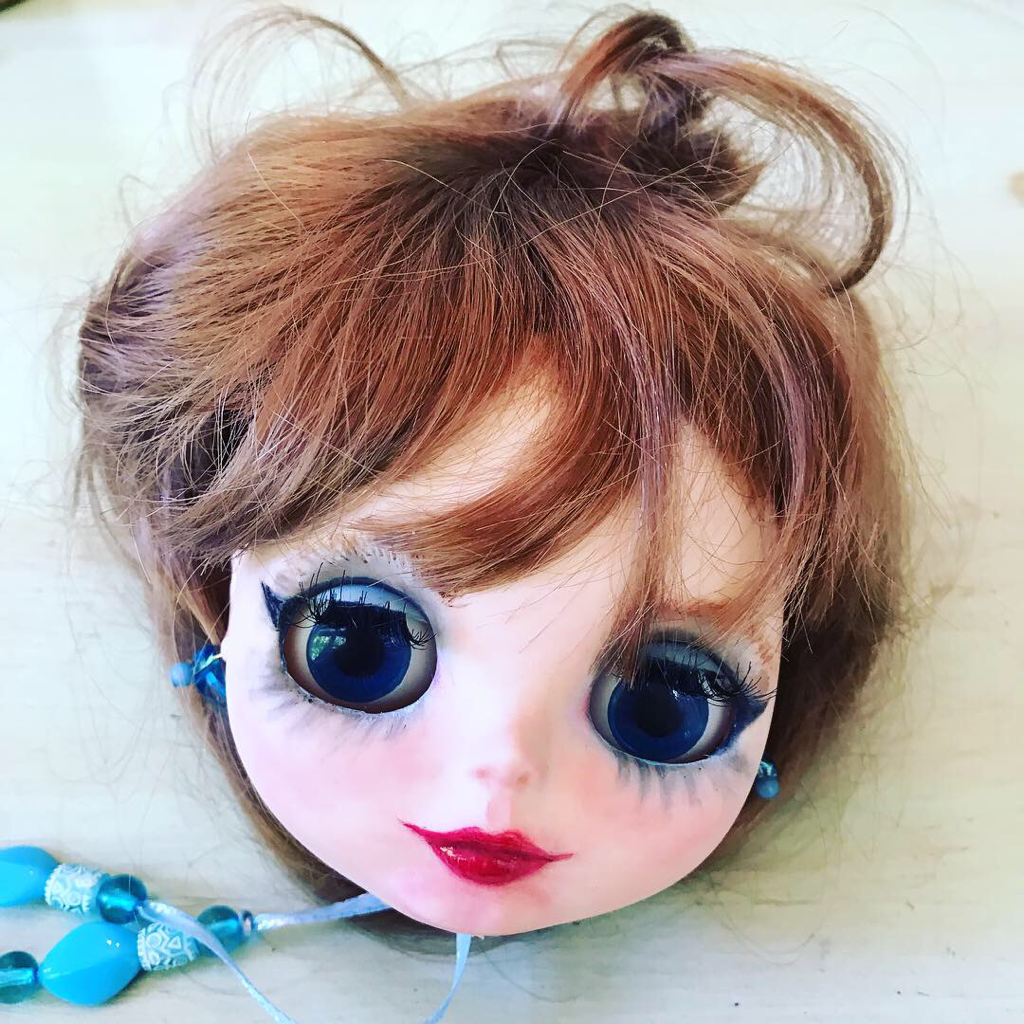 I "tried out" wigs and hairstyles with the paint by just setting the eyes in the face and putting the pieces together like a puzzle. Then I just set the wig in place to see how I liked it. I ended up using a different wig in the end but this one was my second favorite. When your doll face is all finished and dry you can replace it on the body (if you removed it). I was already converting the Blythe eyes to sleep so I had the head off for that reason. It's just easier to keep the sanding dust out of the eyes and stuff if you remove the head. But a doll such as Barbie wouldn't have these issues. You can look back over my blog posts to see more tutorials on replacing doll eyelashes and eyes and other projects. I have a large number of nude dolls of all types available in my shops (link from the Home page), perfect to customize, as well as doll making supplies. It's a fun project while you're stuck at home and you can get an early start on your holiday gifts!
I don't have any Blythe dolls left in stock as mine are sold out so I hope to finish some more, as well as some Pullip dolls while on the break. I am having the opposite problem of so many people, as I am used to working from home alone and now the entire family is here. I'm working most often with one of the kids sitting next to me endlessly talking or asking for homework help and it's distracting! Dolls are fun to work on for me and it keeps me from worrying every time I sneeze or cough (it's allergy season here). I hope you're able to stay positive and busy as well.
2 Comments
Donna
8/25/2023 05:30:44 pm
Hello. I am trying change a white Middie Blythe to a light brown doll. (Not dark black). What kind of paint should I use? Thank you
Amanda
8/27/2023 09:29:10 am
Hi! I answer questions in my Doll Club ~ sign up here to join and see the answer: https://view.flodesk.com/pages/64b44eca26d35119ca2dd131 Leave a Reply. |
AuthorMy name is Amanda, but my childhood nickname was "Mandaline". I am a mother of three turning my passion for creating into a full-time business. Archives
April 2024
Categories |
 RSS Feed