
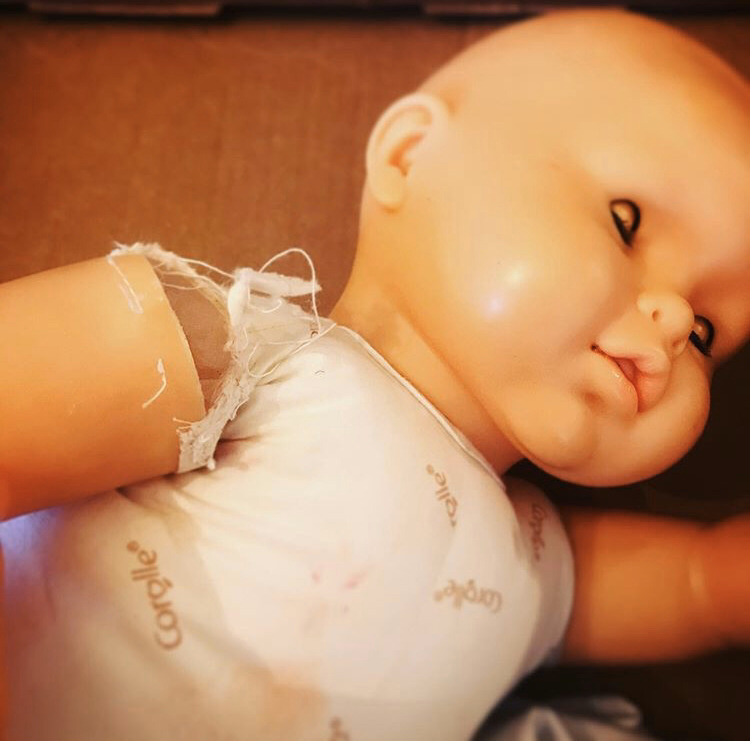
 Today I'm going to show you one of my least-favorite repairs in the hopes you will be able to fix your dolls yourself and not send them to me for this problem! While some cloth-body dolls have limbs that attach to the body using a channel and drawstring, most have vinyl limbs sewn to the body. Because play dolls tend to be carried by one arm or leg that particular limb will often tear away from the body. Today we have a doll named Ayla whose shoulder was almost completely torn away. In cases like these you should first determine whether you need to replace the entire body or if the one limb can be re-attached. Since Ayla is a play doll with a young mother and her body is made of logo-print cloth I decided to just re-attach the torn arm. The factory stitching is done with industrial machines and it is strong, whereas the re-attachment is hand-sewn. It is strong but for play I trust the factory stitching more. I also don't like to replace a logo body with a plain one. And, since right now I charge $200 plus return shipping for a total body replacement it is cheaper to just repair the problem area. 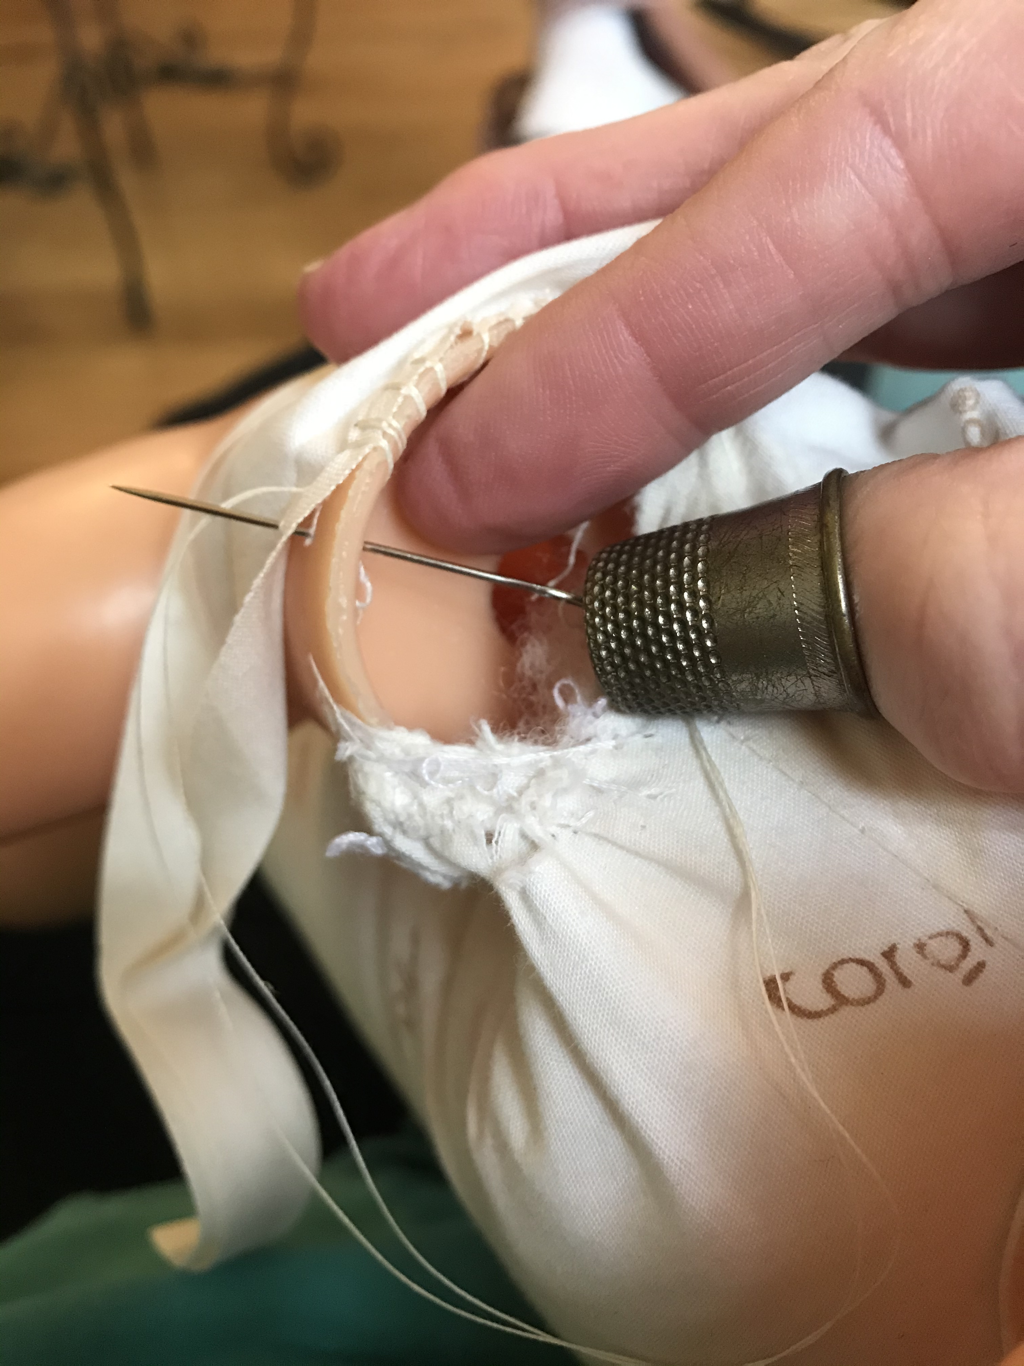 As I mentioned in my last post, you could just buy another doll of the same size and race from a thrift store or online and move the head to that body. In this case the owner might be too young to understand why the body looks different and this particular doll is an unusual size. So I repaired the limb. Start by finding material of the best possible match to your doll body. I found wide bias tape in an oyster shade was just the right color and size. I cleaned up the torn area, removing hanging threads. Then I poked a needle felting needle into all the holes I planned to sew to open them up a little more. You will need to use heavy-duty thread. I used hand quilting thread for this repair as it is very strong. If you're using bias tape, which I recommend as it's usually the easiest, line up the edge with the edge of the arm. Stitch through the vinyl using a whipstitch to attach it to the tape. You will need a metal thimble to help push the needle through the tiny holes. 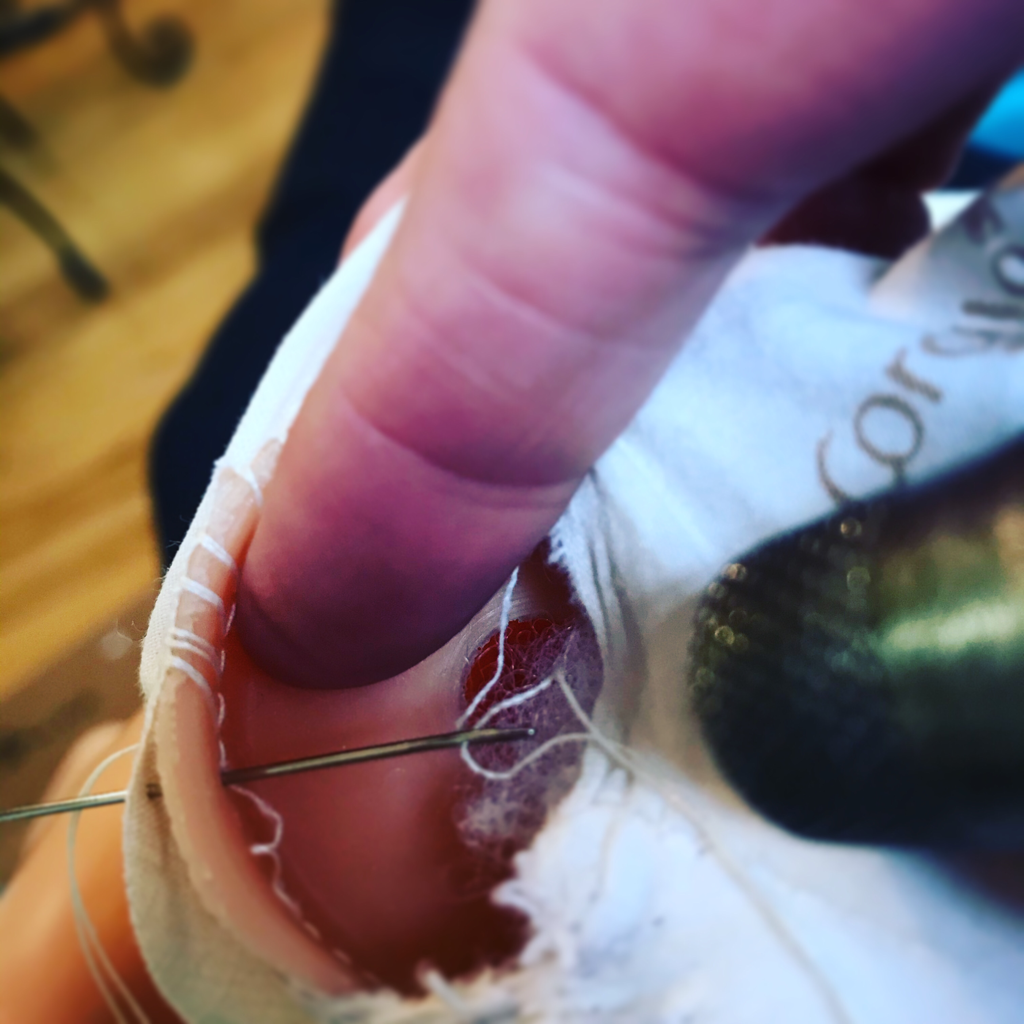 A curved upholstery needle works best for this repair but all mine are lost right now so I'm just using a heavy-duty straight needle. If you get to a hole that's still too tight you can poke your needle felting tool into it again to widen it as shown below. The reason I hate this repair so much is I always manage to stab myself. Even with the thimble I stabbed my thumb today and had to wait for the bleeding to stop and I also stabbed myself in the stomach when my hand slipped. That's my own fault for sitting on the couch to do this instead of at a table. You have to push so hard on the needle at times that it will suddenly pop out and poke you unexpectedly. 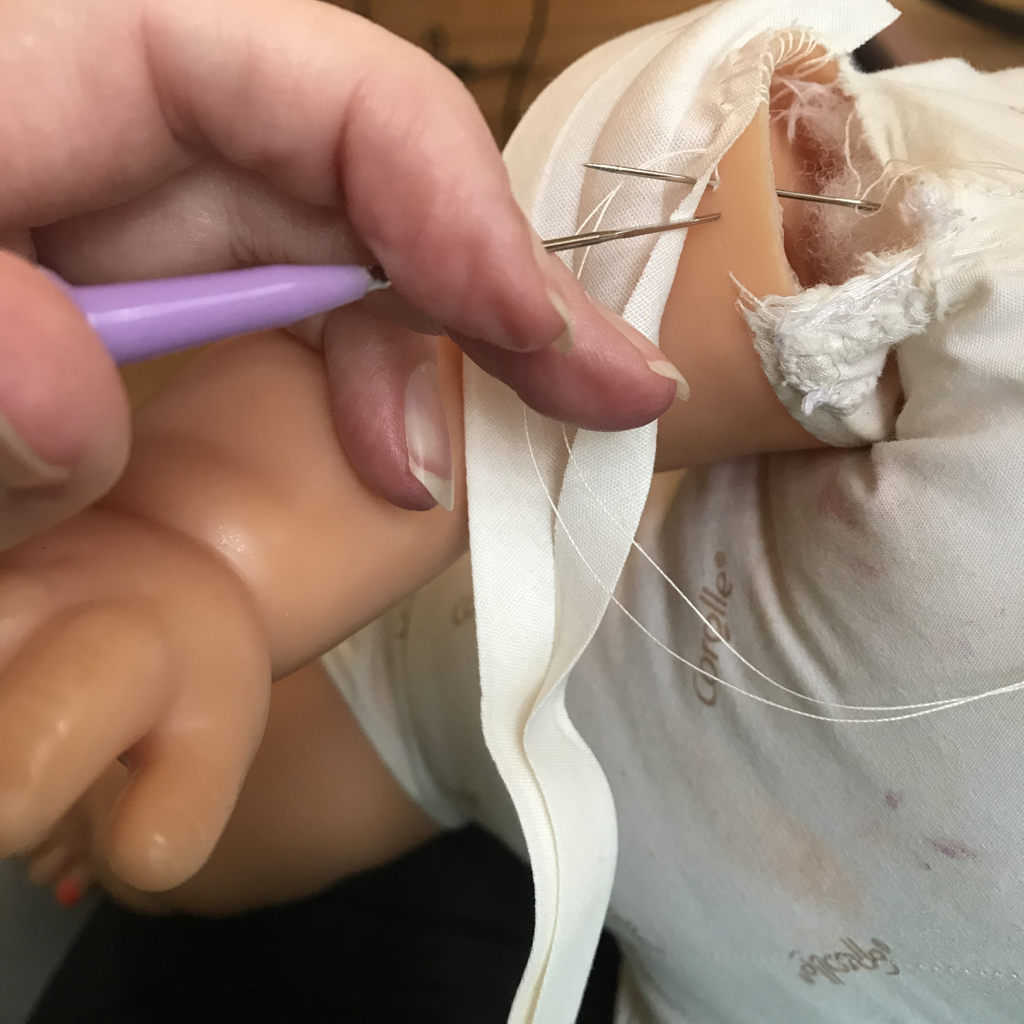 Once you've attached the limb, open the bias tape and sew the folded edge to the doll's body, easing around any curves. I stitched over this two times to make sure it's sturdy enough for play, almost making a satin stitch. 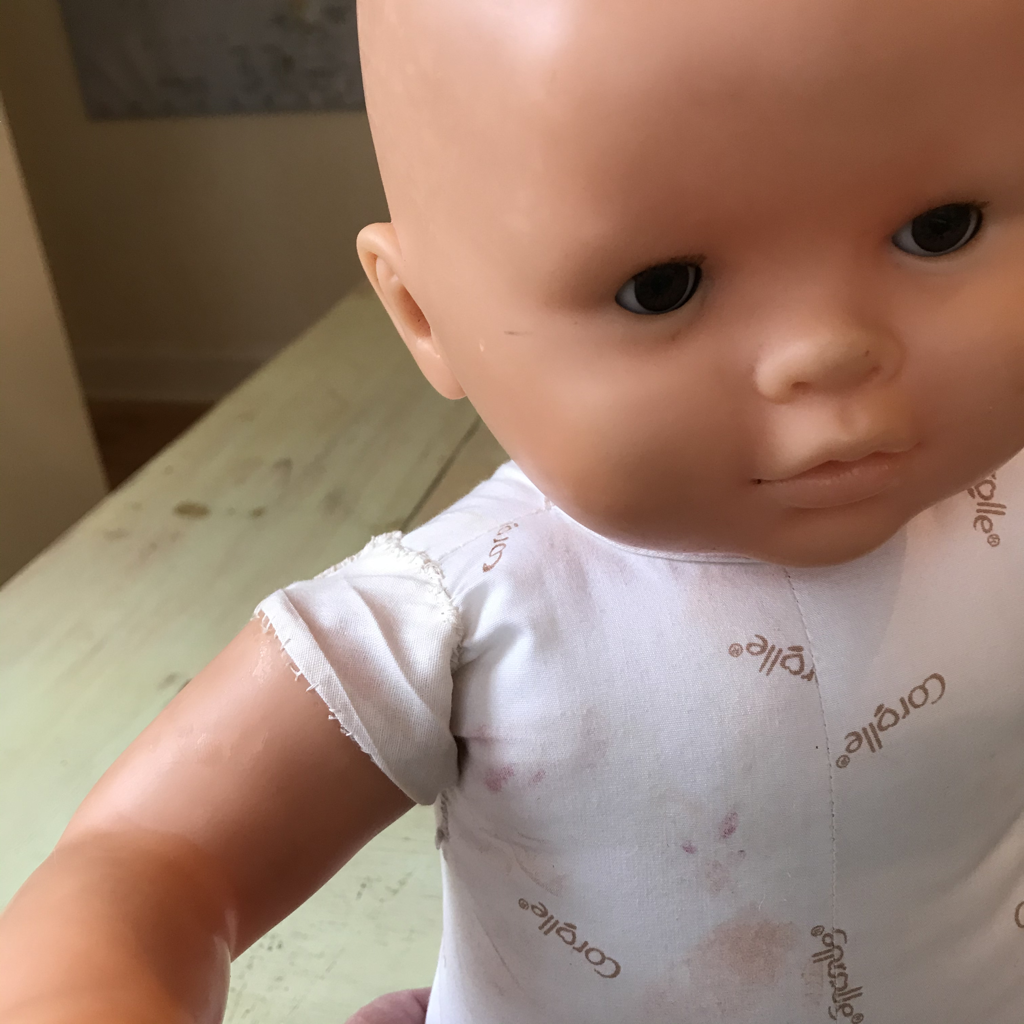 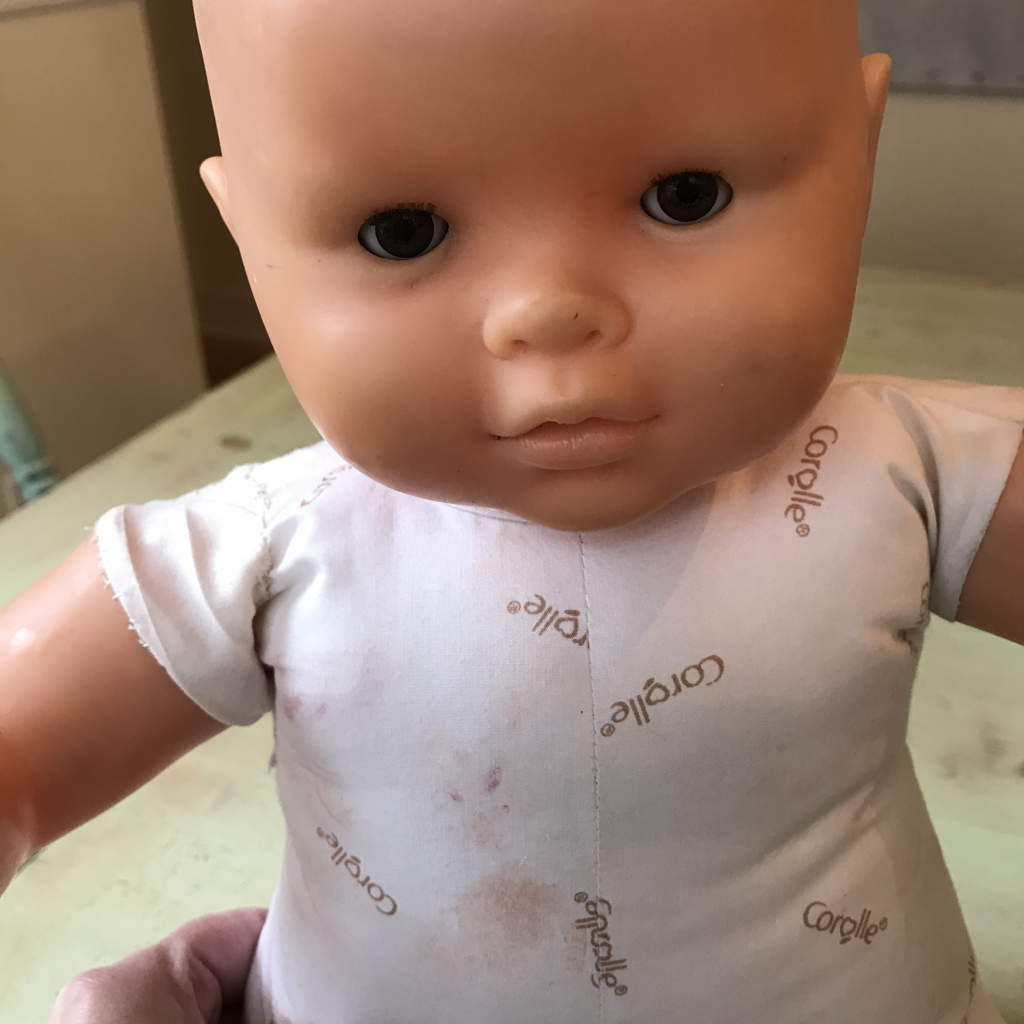 Although this is a visible repair it's not terribly noticeable since the color is such a good match. The other shoulder doesn't have any logo print so that helps the new one blend in. Ayla, as you can see, enjoys a full life. She had glitter on her head, highlighter-painted finger and toenails, makeup on her body, chocolate stuck in her mouth where her mother has been feeding her, and general dirt all over. I spot cleaned her cloth body (you could also remove the head and stuffing and run the body through the washing machine) and scrubbed her vinyl with Thieves Foaming Hand Soap (purchase from my Young Living link on the Home page) and a toothbrush. 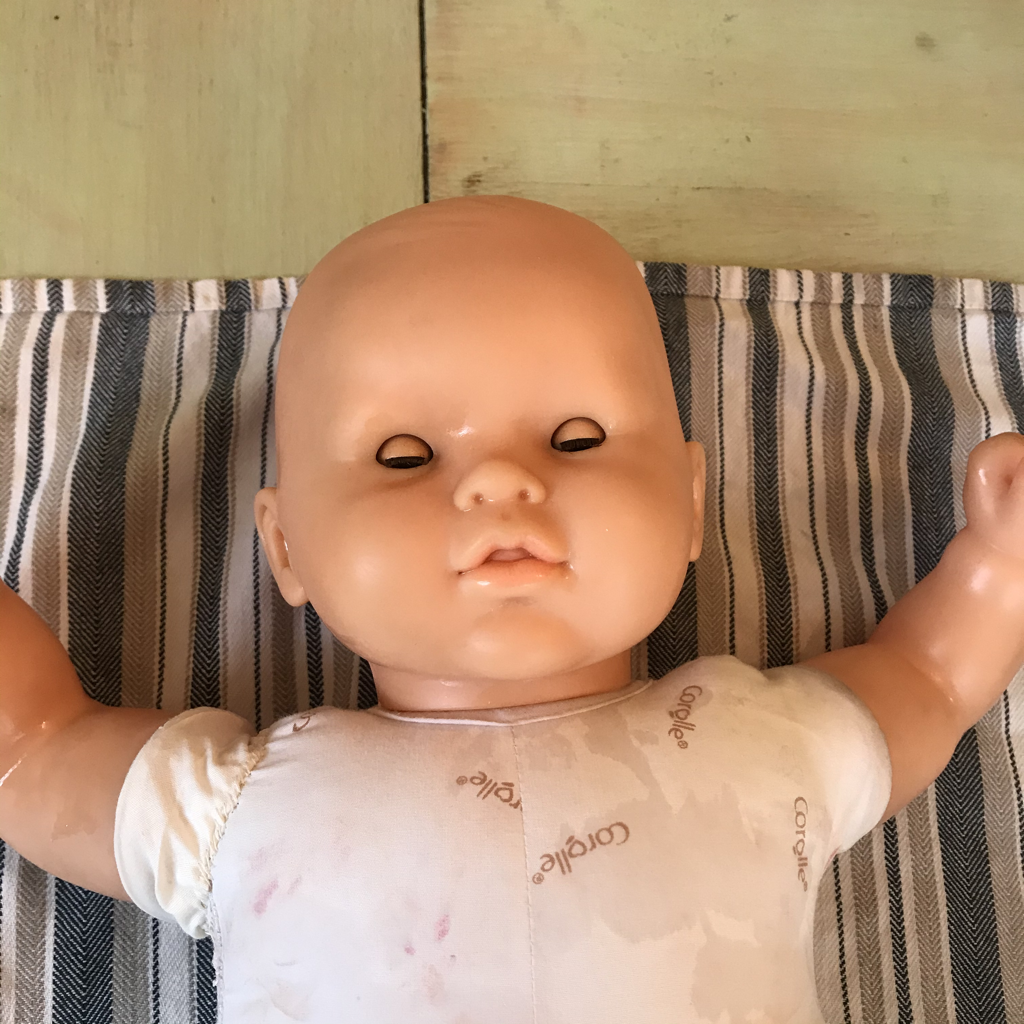 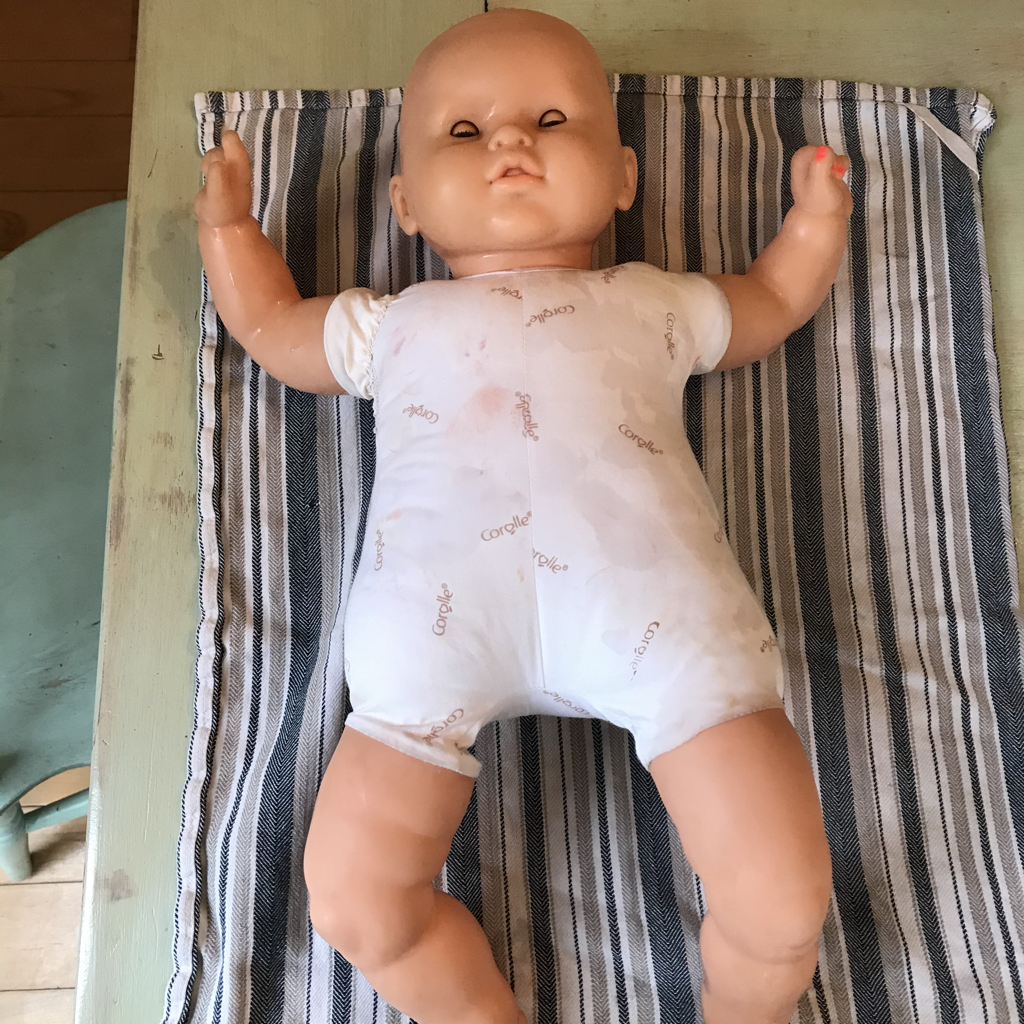 Ayla is taking a nap while she dries after her bath. As soon as she's dry she will be ready to head home. I know her mother will be happy to see her! Of course you may send me any kind of doll repair, but now you know how to do this one yourself! You can use the Repair Form below to get an estimate for your doll repair and find out how to send your doll to my hospital.
13 Comments
Once, my mother gifted me homemade doll when I went to the school for the first time. I have still kept in my closet as the sweet memories of my childhood. Now, I am a single mother, and I run a business, so I am unable to try doll making or similar kind of things, so I have decided to gift a Barbie doll to my daughter, as she is going to join the school very soon.
Lorraine
5/25/2020 10:52:24 pm
Keep that baby doll for her and, give it to her whenever she has a little girl of her own.
Jean Marshall
9/10/2020 11:38:37 am
Thank goodness for this repair instruction. My friend asked me to repair her daughter's a baby doll (vinyl with cloth body) that had been chewed up by the dog many years ago .For nostalgia's sake, she wants to give her the repaired doll now that she is a mother with a brood of her own. One arm and one leg badly damaged. This bias tape strategy is a life-saver! Thank you for sharing. I can see why you charge $75. I am doing this for her as a friend, so it is a labor of love
Deborah Nelson
12/20/2020 11:08:20 am
I have a cloth body doll with plastic head that is floppy. Is there a way to tighten it?
Amanda
12/20/2020 11:35:53 am
Hi! You can try adding extra stuffing to the torso, chest, and neck. Stuffing the doll very full will help the head stay erect. Thanks for reading my blog! Amanda
CHARLENE CLAY
7/20/2023 02:20:32 pm
nedd for it to be black in color
Amanda
7/22/2023 03:11:03 pm
Hi! I search online for replacement limbs and doll bodies. eBay usually has the best deals. You can often find broken dolls that have the pieces you need and they’re usually pretty cheap. Best of luck with your doll & thanks for reading my blog! Amanda
Amanda
12/19/2023 03:20:47 am
Thanks for reading my blog!
Gina Towne
3/28/2024 11:19:09 am
I'm so happy to see how to repair a soft bodied doll. Thank you for the easy readable instructions and idea to use bias tape. My grand daughter has been asking me for a year now to fix Big Baby and finally I have the correct way to go forward! Thank you, thank you, thank you! Gina Leave a Reply. |
AuthorMy name is Amanda, but my childhood nickname was "Mandaline". I am a mother of three turning my passion for creating into a full-time business. Archives
April 2024
Categories |
 RSS Feed